Introduction:
Are you ready to add a personal touch to your home decor or create a one-of-a-kind gift for someone special? Transferring an image onto a canvas is a fun and easy way to do just that! Whether you’re an experienced artist or a beginner, this guide has got you covered. We’ll take you through the steps of creating a basic image transfer, and we’ll even share some advanced tips for those of you who want to take your artwork to the next level.
As an artist who has experimented with image transfer onto canvas throughout my career, I’ve adapted this technique to create my neophotorealist style. And now, I’m excited to share my knowledge with you. By the end of this article, you’ll have the tools and techniques to create your own unique and personalized photo transfers, just like I do in my own artwork. So, let’s dive in and explore the exciting world of photo transfer!
Choosing the Perfect Image to Transfer onto a Canvas
The first step in transferring an image onto a canvas is choosing the right image. You can use any photo you like, from your own photographs to images you find online. However, keep in mind that some images may be more difficult to transfer than others. Here are a few tips for choosing the right image:
Choose a High-Quality Image
When selecting an image to transfer onto canvas, it’s important to choose one that is of high quality. Look for images that are clear, crisp, and have good contrast between the colors or shades. Photographs with too much detail or too little contrast may not transfer well onto a canvas, resulting in a blurry or indistinct image.
Consider the size of your canvas when selecting an image. If you’re working with a small canvas, choose an photo that is simple and doesn’t have too much detail. On the other hand, if you’re working with a larger canvas, you can choose an photo that has more detail and complexity.
Keep in mind that the quality of the image you choose will affect the final result of your canvas transfer. If you choose a low-quality photo, the transfer may appear fuzzy or distorted. In contrast, a high-quality image will result in a clear and detailed transfer.
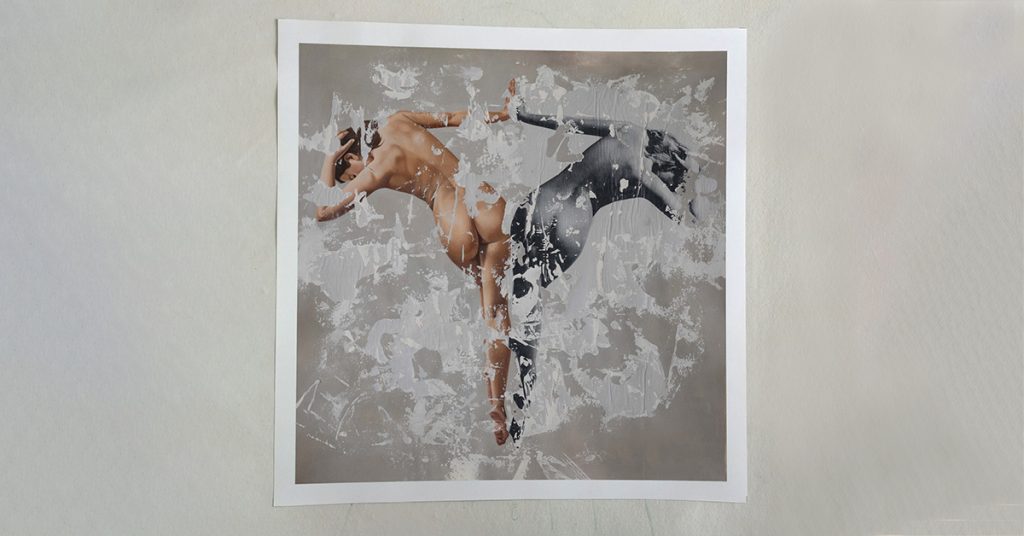
If you’re unsure about the quality of the photo you’ve chosen, you can always test it out on a small piece of paper before transferring it onto your canvas. This will give you an idea of how the image will look once transferred, and you can make any necessary adjustments before committing to the canvas transfer.
In summary, choosing a high-quality picture with good contrast is crucial for achieving a successful canvas transfer. Take the time to select an image that will translate well onto your canvas, and you’ll be rewarded with a beautiful work of art.
Choose the Right Size Image
Choosing the right size image will ensure that the transfer looks proportional and well balanced on your canvas. A small image on a large canvas may appear disproportionate, while a large image on a small canvas may look cluttered and messy.
It’s also important to consider the resolution of your photograph when choosing the size. A low-resolution photograph may look pixelated or blurry when enlarged, so make sure to choose an picture with high enough resolution to maintain its quality when transferred onto the canvas.
Pro tip: Use design programs to check size and resolution of your image before printing. You can use Photoshop to resize your picture and make it fit prefectly on your canvas, here´s how
How to resize an image in Photoshop:
- Open your image in Photoshop.
- Go to “Image,” located at the top of the window.
- Select “Image Size.”
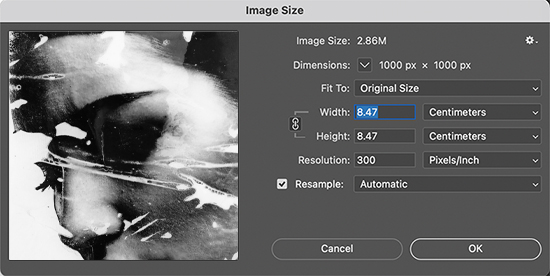
- Check that the resolution is no lower than “200 pixels/inch”, however “300 pixels/inch” is ideal for printing.
- Input the width and height you desire click ok and done!
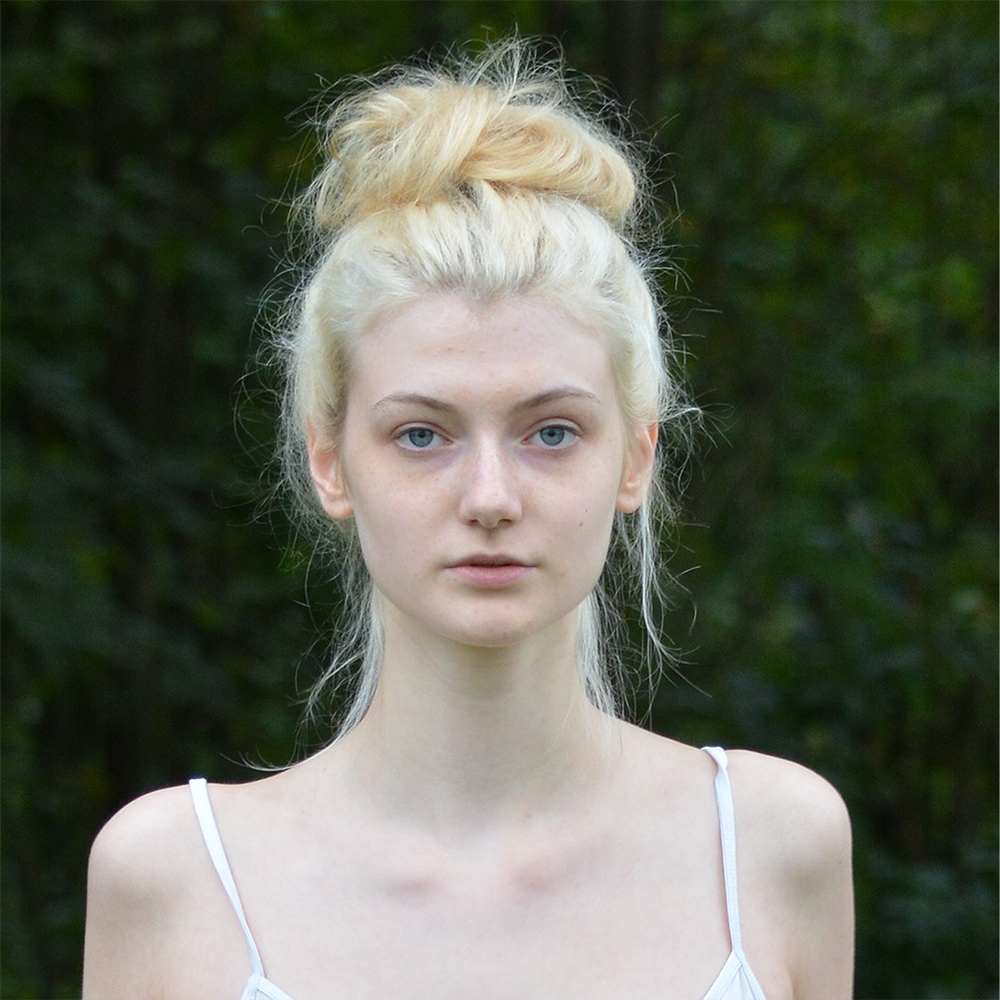
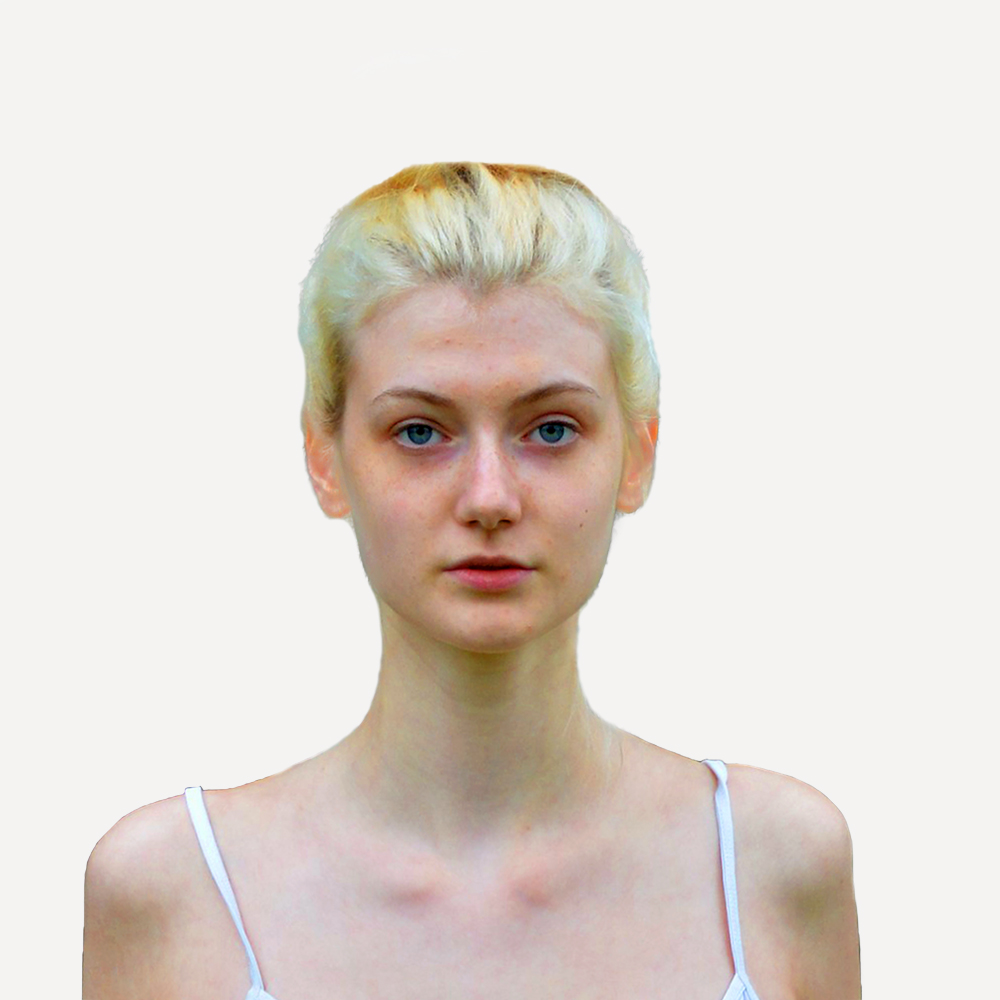
Choose an Image with a Simple Background
When selecting an image to transfer onto canvas, it’s best to choose an image with a simple background. photos with complex backgrounds, such as landscapes or cityscapes, may be more difficult to transfer onto a canvas.
A simple background, such as a solid color or plain background, will make it easier to focus on the main subject of the picture. It will also ensure that the transfer looks clean and crisp, without any distracting elements in the background.
If you do choose an pic with a complex background, make sure to spend extra time preparing the image before transferring it onto the canvas. Use photo editing software to remove any distracting elements or simplify the background as much as possible. This will help to ensure that the transfer looks clean and professional. I personally use photoshop to remove backgrounds and that way focus on the image.
Materials needed to Transfer an Image onto a Canvas
Once you have chosen your image, it’s time to gather your materials. Here’s what you’ll need:
Materials
Canvas
Gel Medium
Paintbrush
Image printed on a laser printer or photocopier
Scissors
Mod Podge or Varnish
Preparing Your Canvas for Image Transfer
To transfer an image onto a canvas, you need to prepare the canvas first. Here’s what you need to do:
Paint Your Canvas
Before transferring your image onto the canvas, it’s important to paint the canvas with a thin layer of white paint. This will create a smooth surface for your photo transfer and help to ensure that the colors of the transferred image appear vibrant and true to life.
To paint your canvas, use a brush to apply a thin, even layer of white paint to the entire surface of the canvas. Allow the paint to dry completely before proceeding with the transfer process.
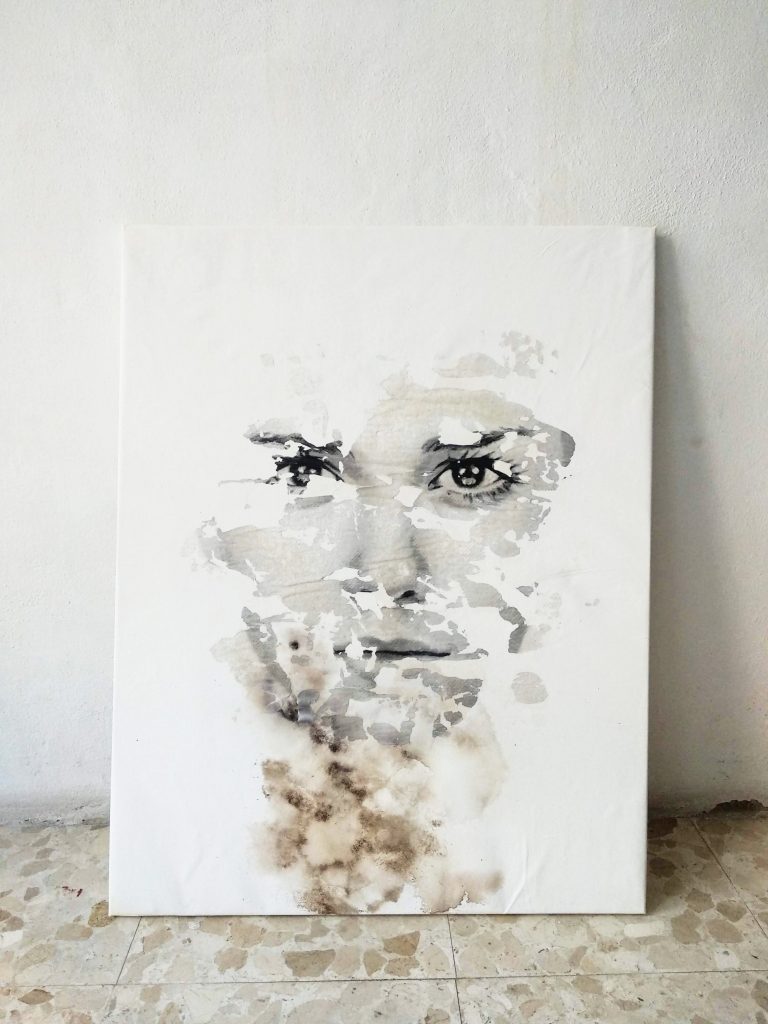
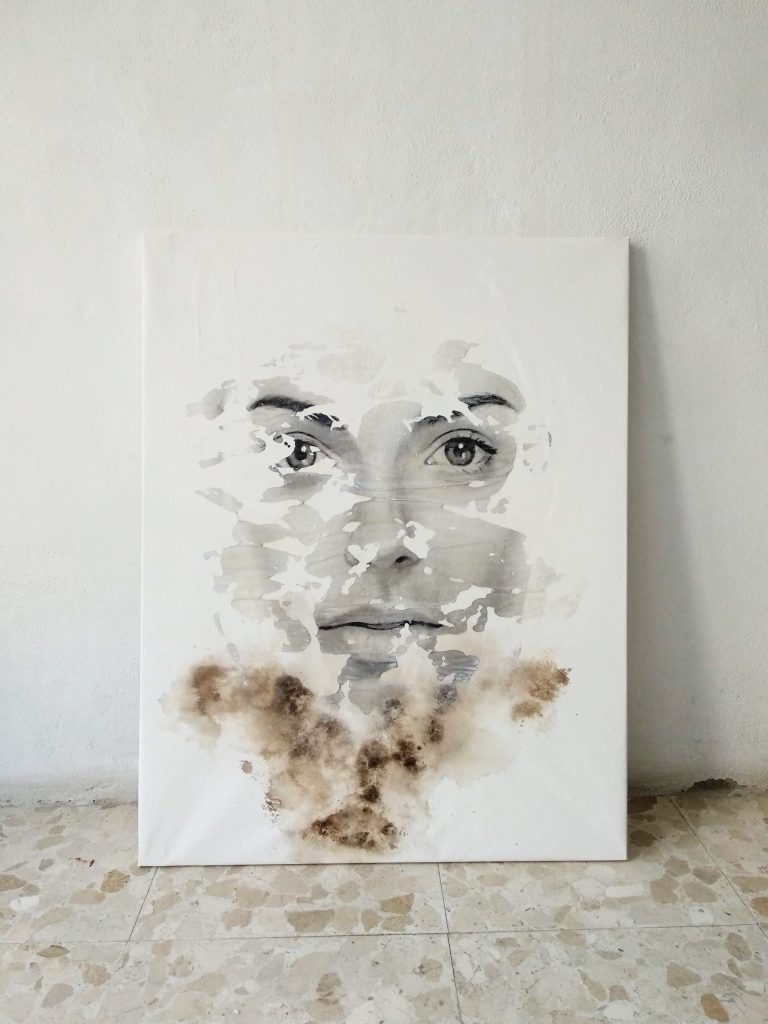
Pro tip: You can consider using a light color other than white to paint your canvas, depending on the desired result and the way you apply the gel or transfer medium. There are also clear gessos that can also be used to achieve a transparent effect and enable the background color to show through.
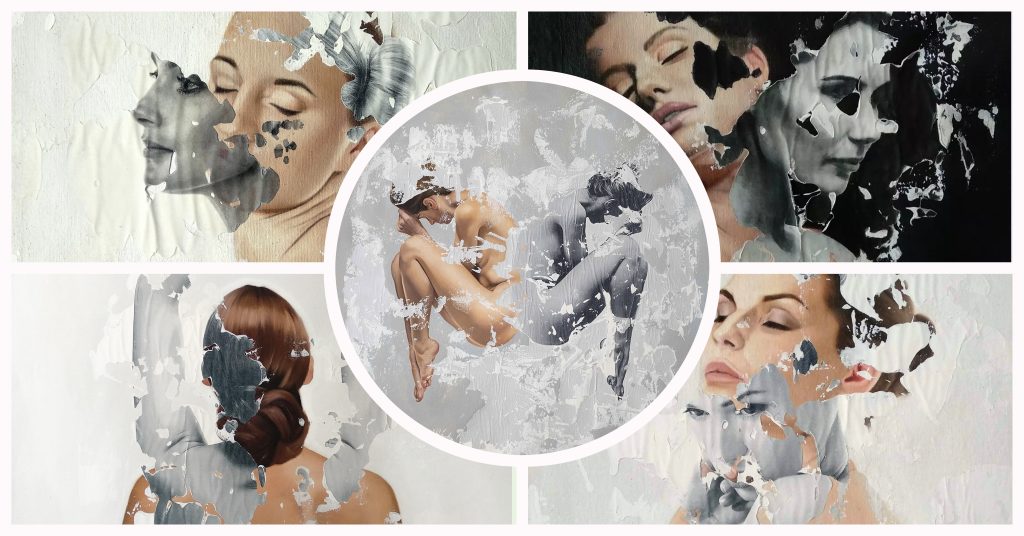
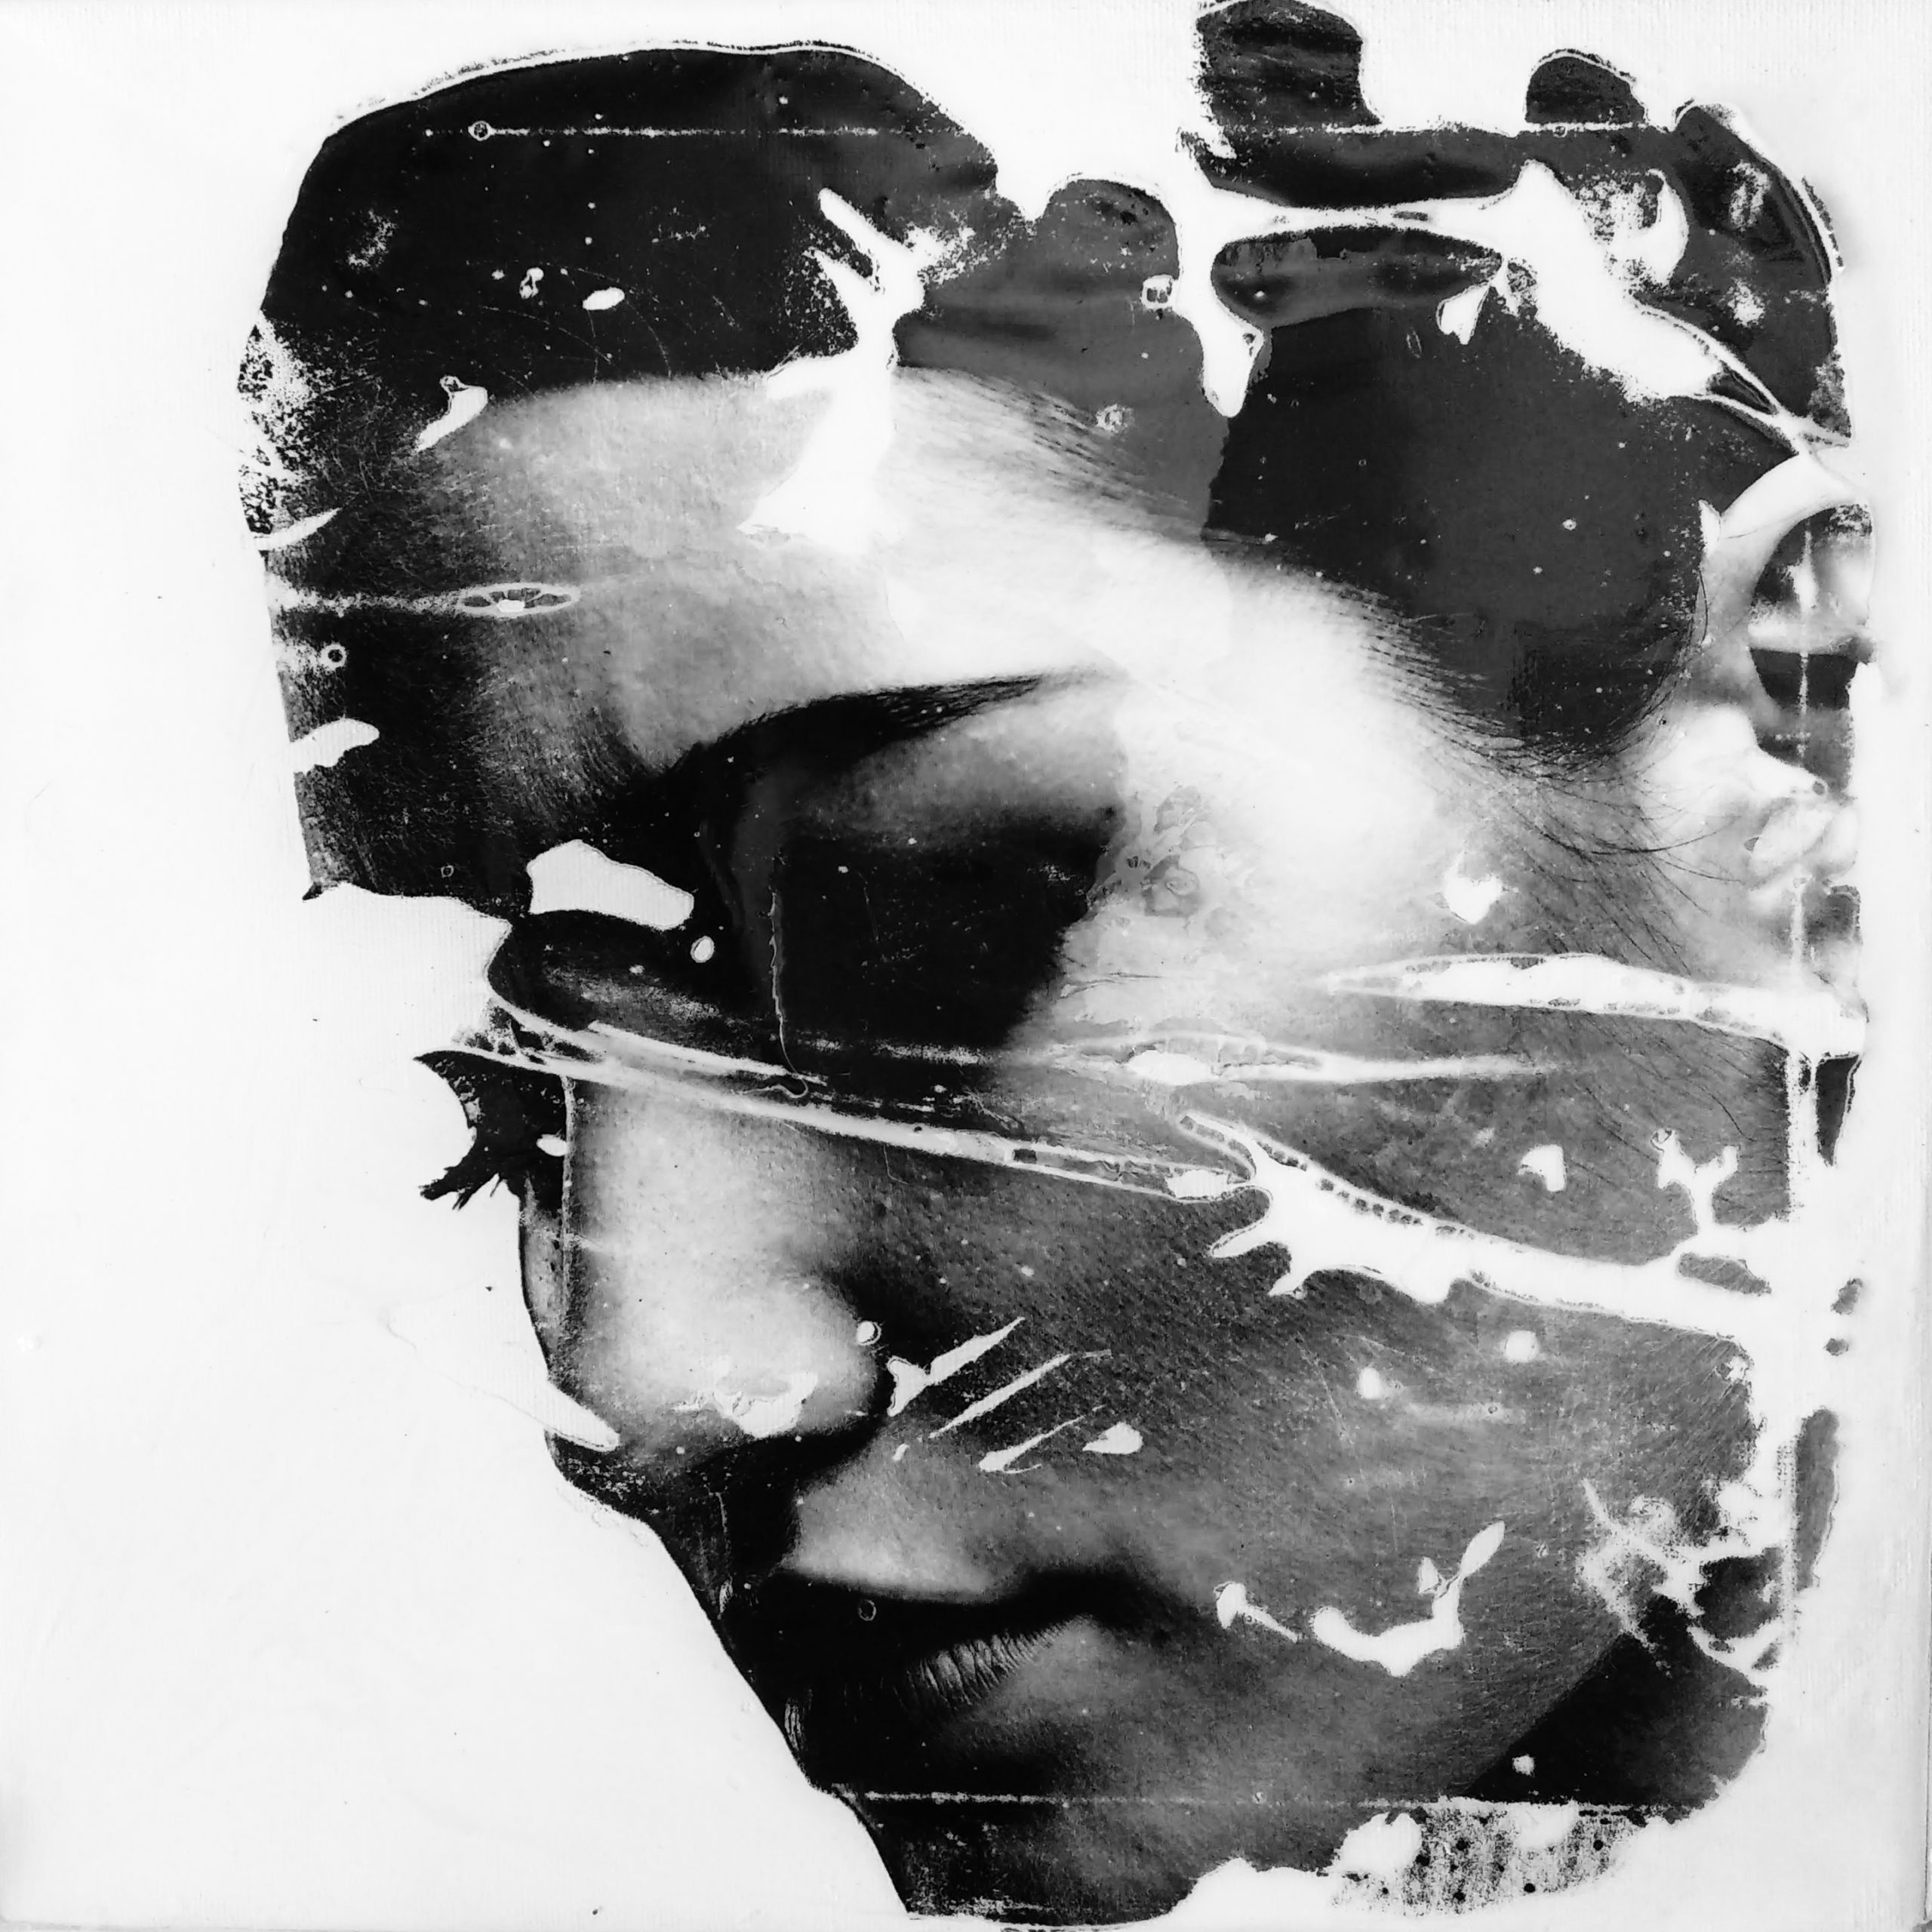
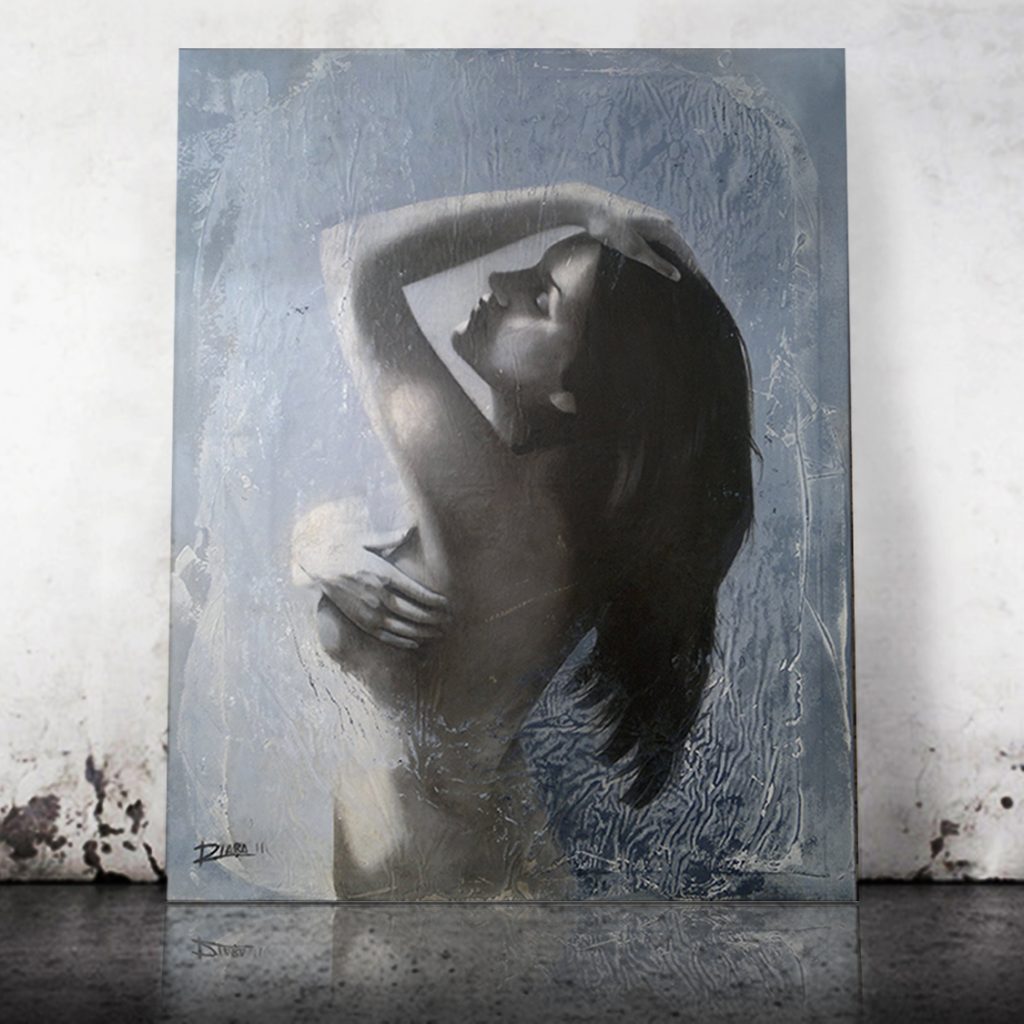
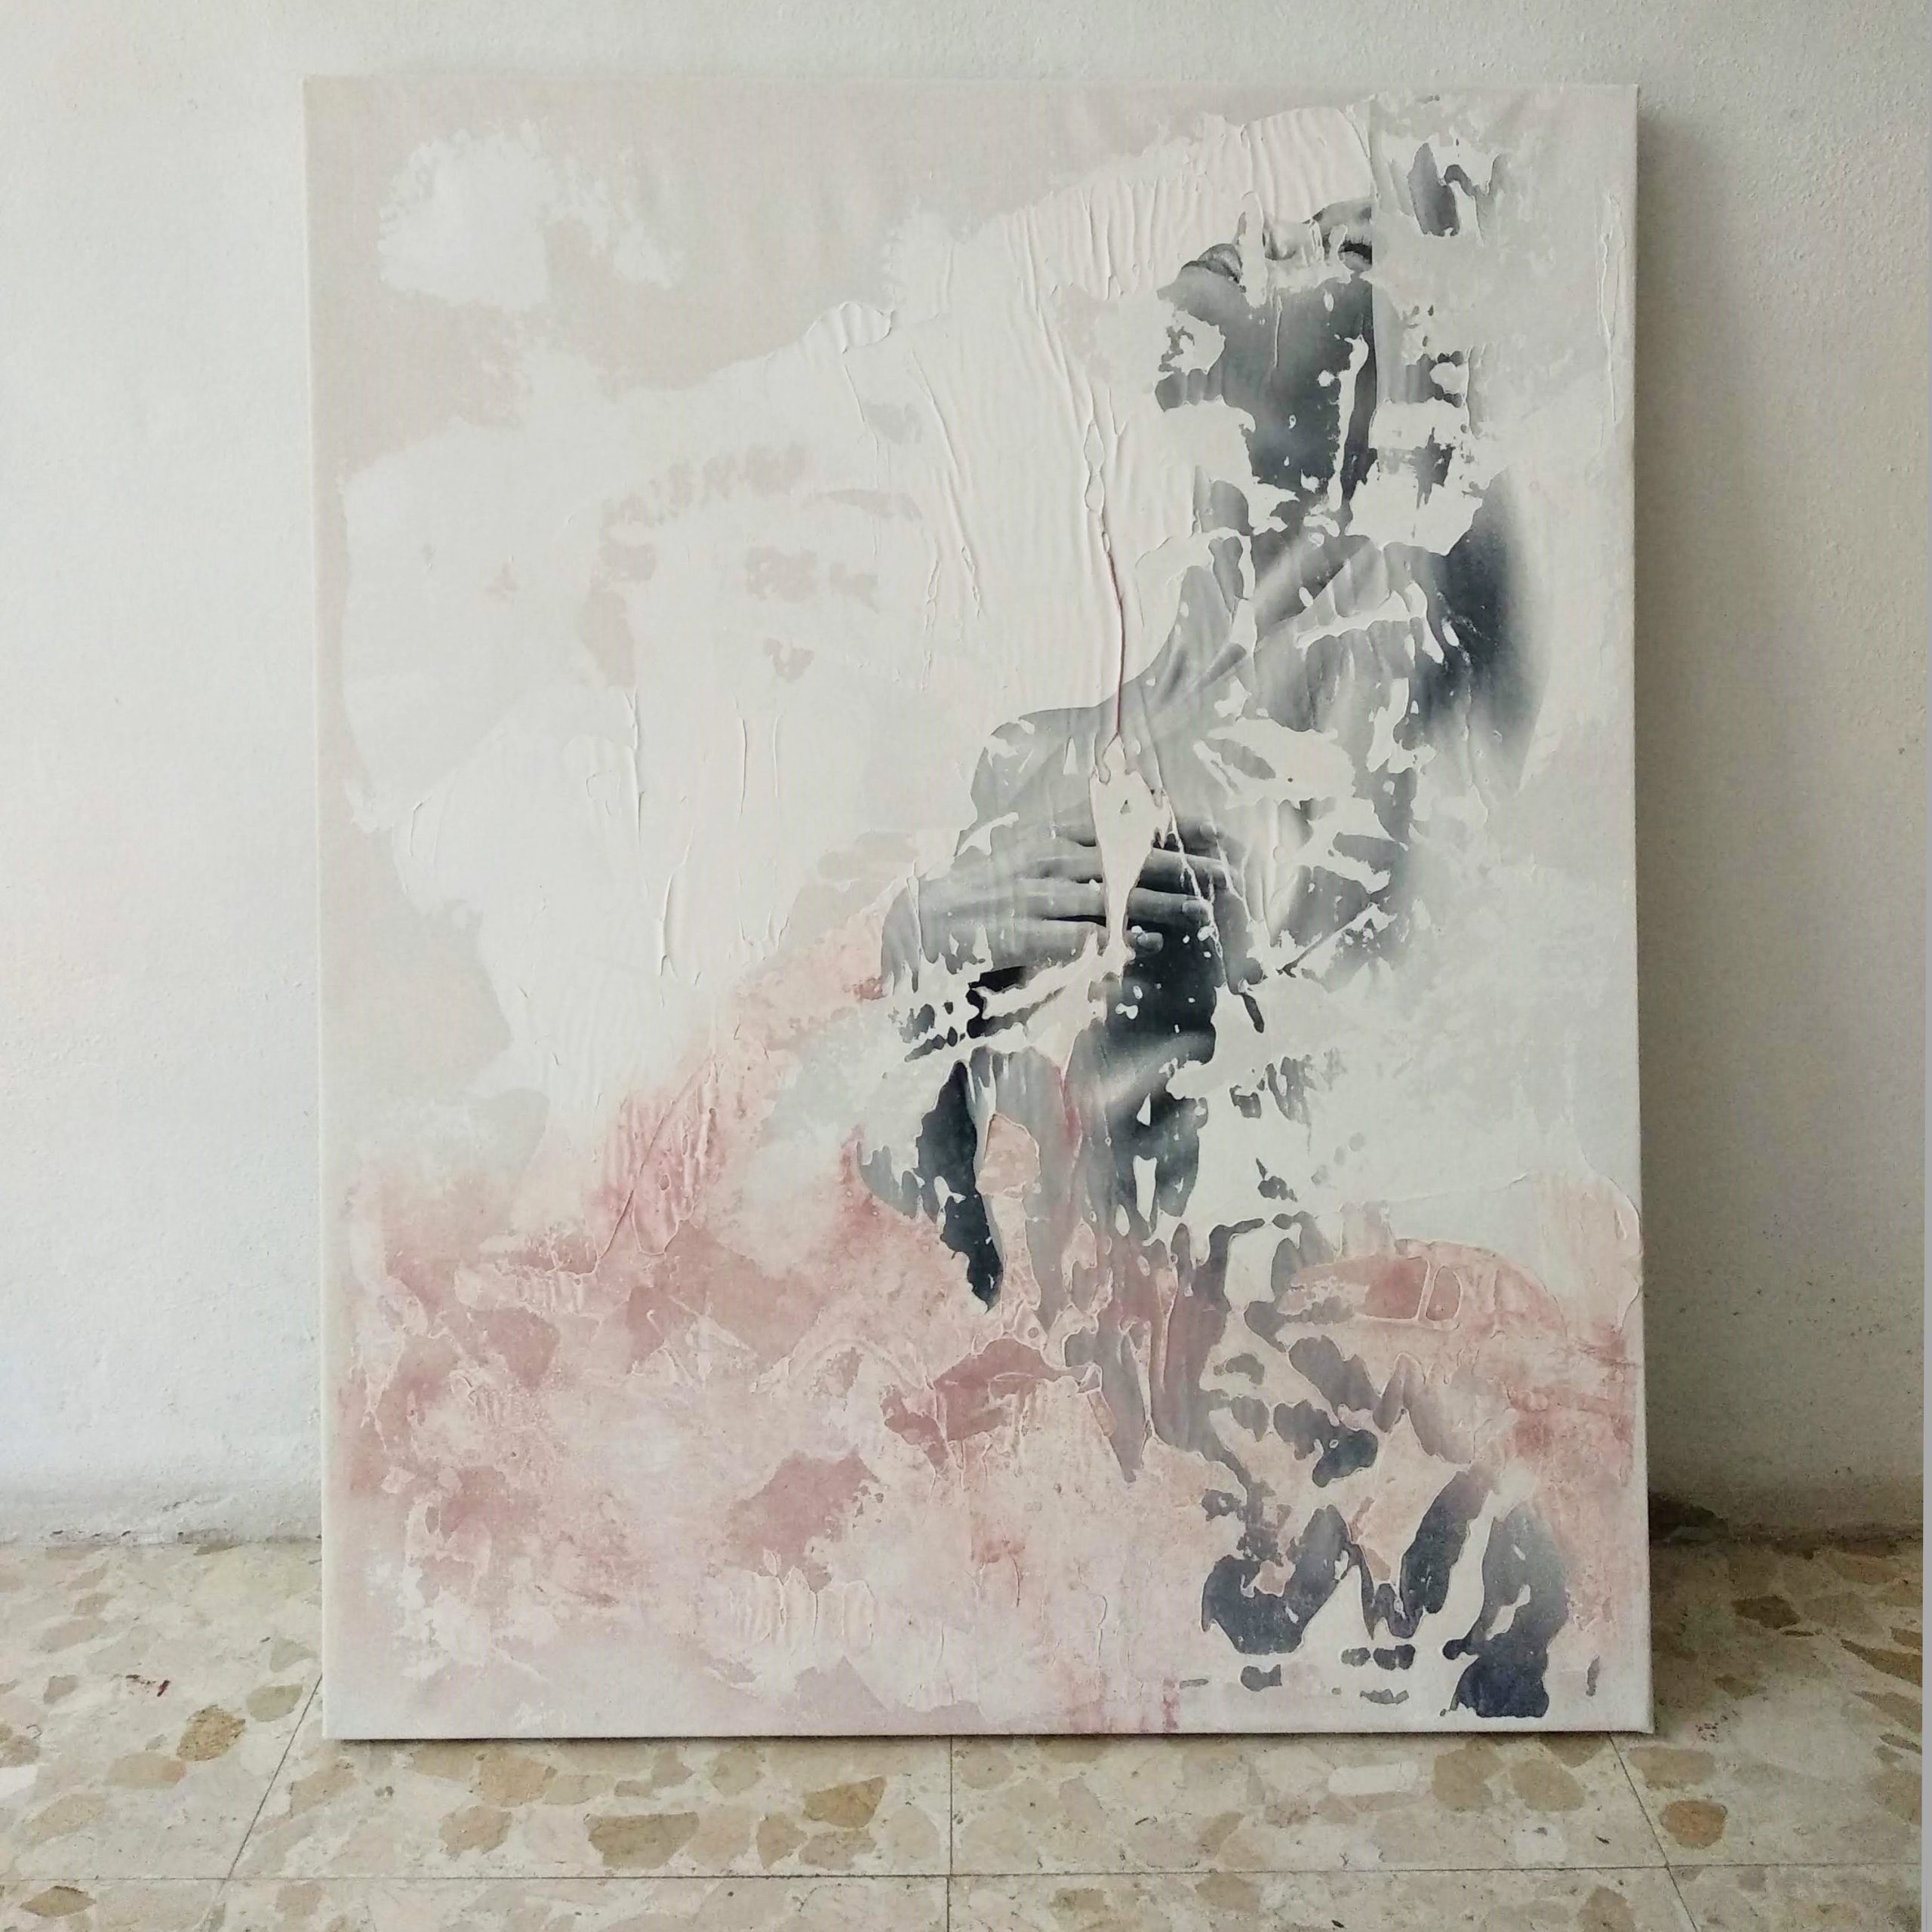
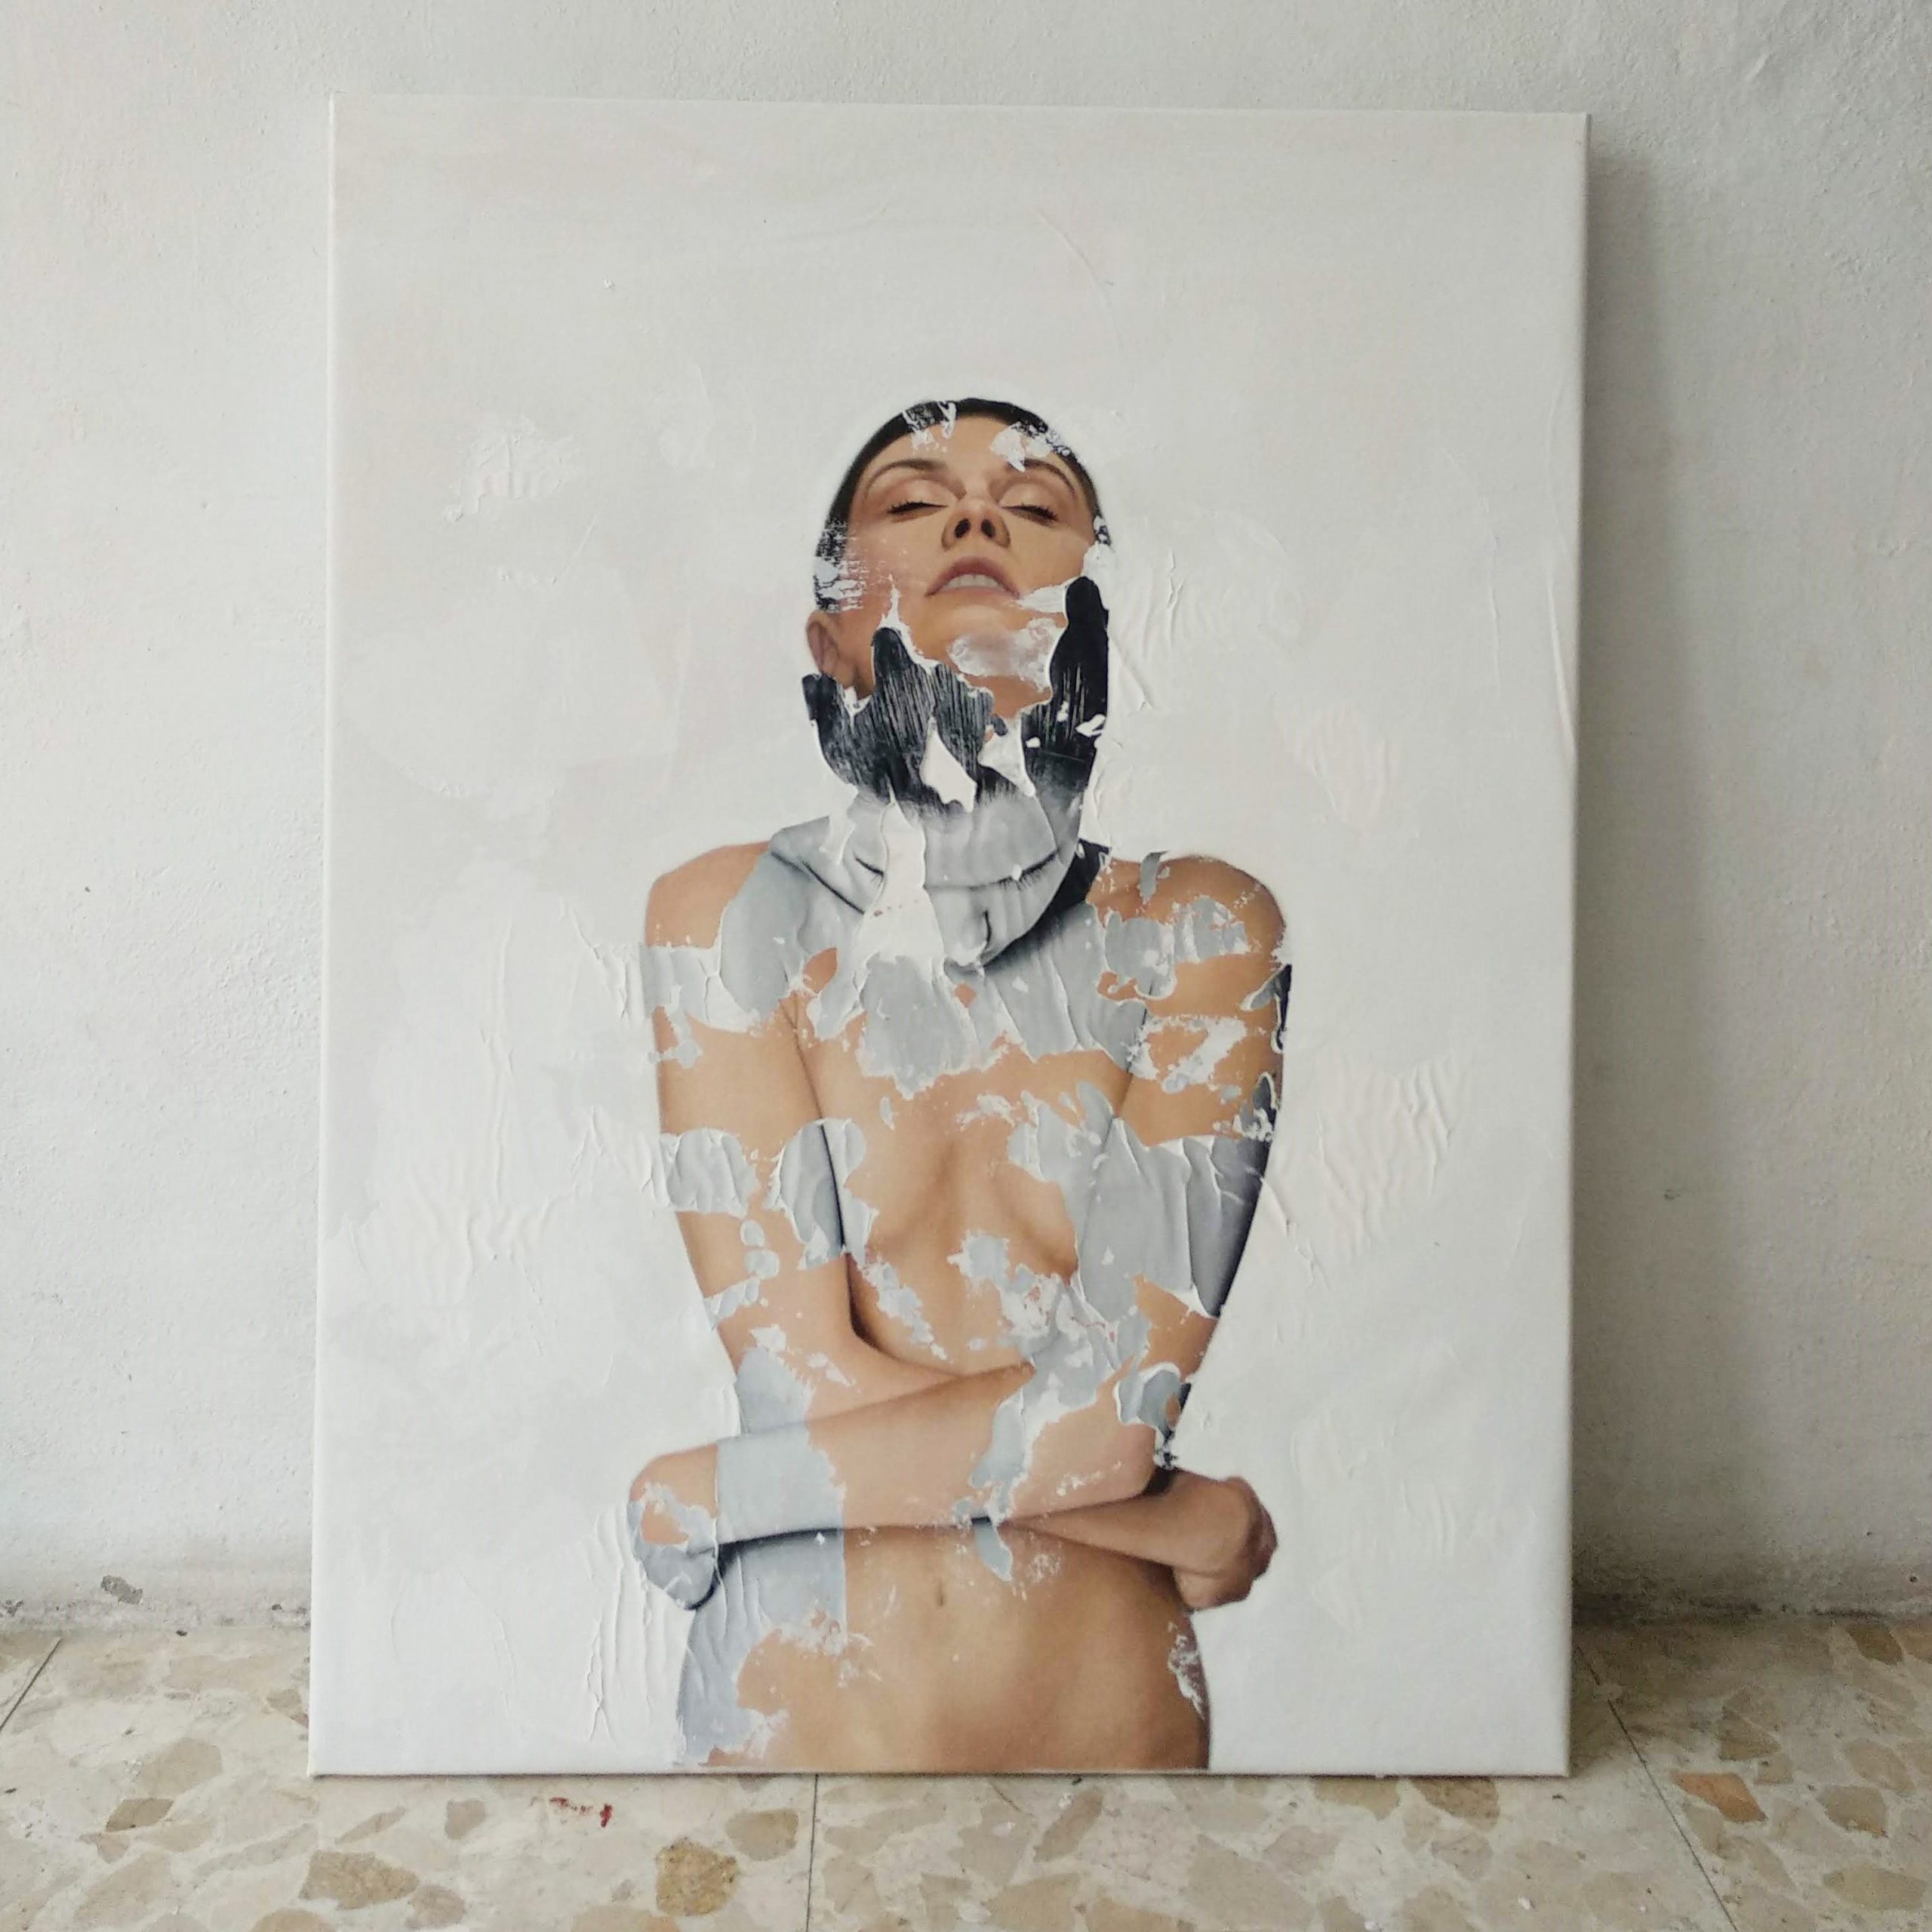
Here are two pieces created by transferring an image onto a canvas with clear gesso over a white and light brown background.
Cut Your Image
Once you have selected the right image and size for your canvas, it’s time to cut the image to the appropriate size. Use scissors or a craft knife to carefully cut your image to the size of your canvas, leaving a small border around the edges.
It’s important to leave a small border around the edges to ensure that the image is fully transferred onto the canvas. This will also prevent the photo from appearing cropped or cut off when it is transferred.
Apply Gel Medium
To transfer your image onto the canvas, you will need to apply a generous amount of gel medium to the front of your image. Gel medium is a thick, glue-like substance that is used to transfer images onto various surfaces, including canvas.
To apply gel medium, the regular way is to use a brush to spread a thick layer of the medium onto the front of your image. and make sure to cover the entire image with a thick and even layer of gel medium.
Pro tip: To achieve a more interesting texture, I typically apply a thicker layer of medium than usual during the transfer process. Additionally, I purposely leave some parts of the canvas uncovered by the medium to achieve a “broken” or uneven effect, which I find to be much more visually compelling.
Gel Medium that I use to transfer an image onto a canvas
Depending the result I want to achieve I choose between two diferent types of gel medium, clear gesso or matte gesso

Clear Gesso
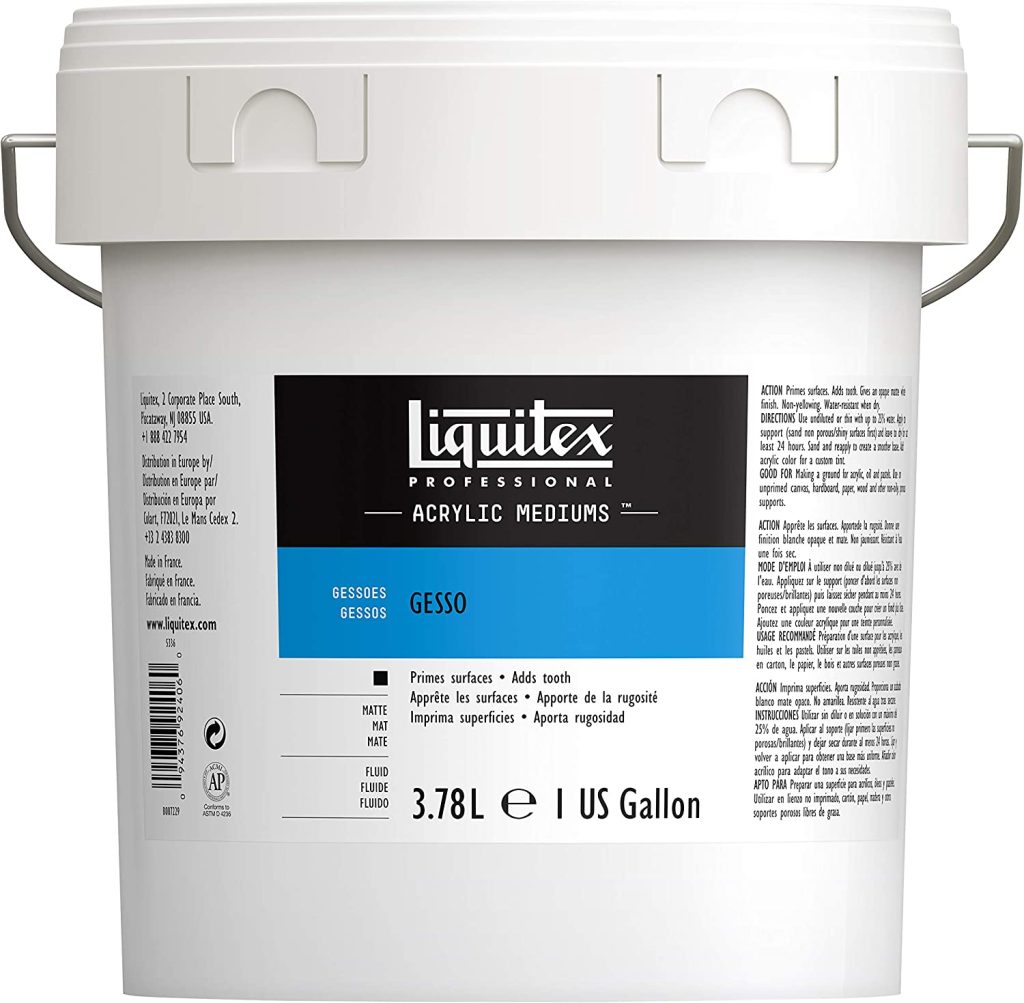
Matte Gesso
Transfer Your Image onto the Canvas
Once you have prepared your canvas, it’s time to transfer your image. Here’s how to do it:
Place Your Image onto the Canvas
Once you have applied the gel medium to your image, it’s time to place the image onto your canvas. Carefully position the image face down onto the canvas, making sure to align it with the edges of the canvas.
Once the image is in place, use your fingers to smooth out any wrinkles or air bubbles in the photo. This will help to ensure that the image is fully transferred onto the canvas and that it appears smooth and free of imperfections.
Wait for Your Image to Dry
After placing your image onto the canvas, it’s important to wait for it to dry completely. Depending on the type of medium you used, this can take anywhere from a few hours to overnight. It’s best to be patient and wait until the image is completely dry before proceeding with the next step.
Wet Your Image
Once your image is dry, wet it with a damp sponge or cloth. Make sure to wet the entire image evenly. This will help to soften the paper and make it easier to remove.
Rub Away the Paper
After wetting your image, it’s time to remove the paper. Gently rub away the paper using your fingers or a soft-bristled brush. Be careful not to rub too hard or you may remove the image itself. Continue rubbing until all the paper is removed and only the transferred image remains.
To me this is the most exciting moment, here’s where you´ll see the final result but it’s also tedious, it takes time to remove the paper completely
Seal Your Image
Finally, to protect your transferred image and give it a glossy finish, seal it with a layer of Mod Podge or another clear sealer. Apply a thin, even layer of Mod Podge over the entire image and allow it to dry completely. This will help to preserve your image and keep it looking great for years to come.
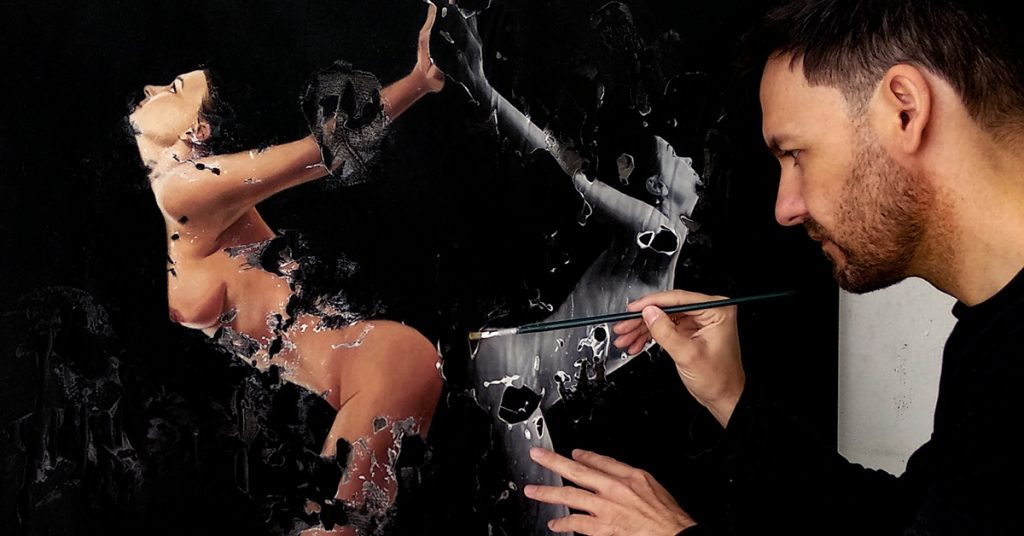
Touch Up Your Image
When working on an image transfer onto a canvas, it’s not uncommon to encounter mistakes or imperfections in the transferred image. If this happens, don’t panic! You can easily fix these errors by using a small brush to touch up the affected areas with paint that matches the colors in the image.
If you want to take your transferred photo to the next level, consider adding additional details using a fine-tip brush. This is a great way to add extra texture or shading to the image and really make it pop.
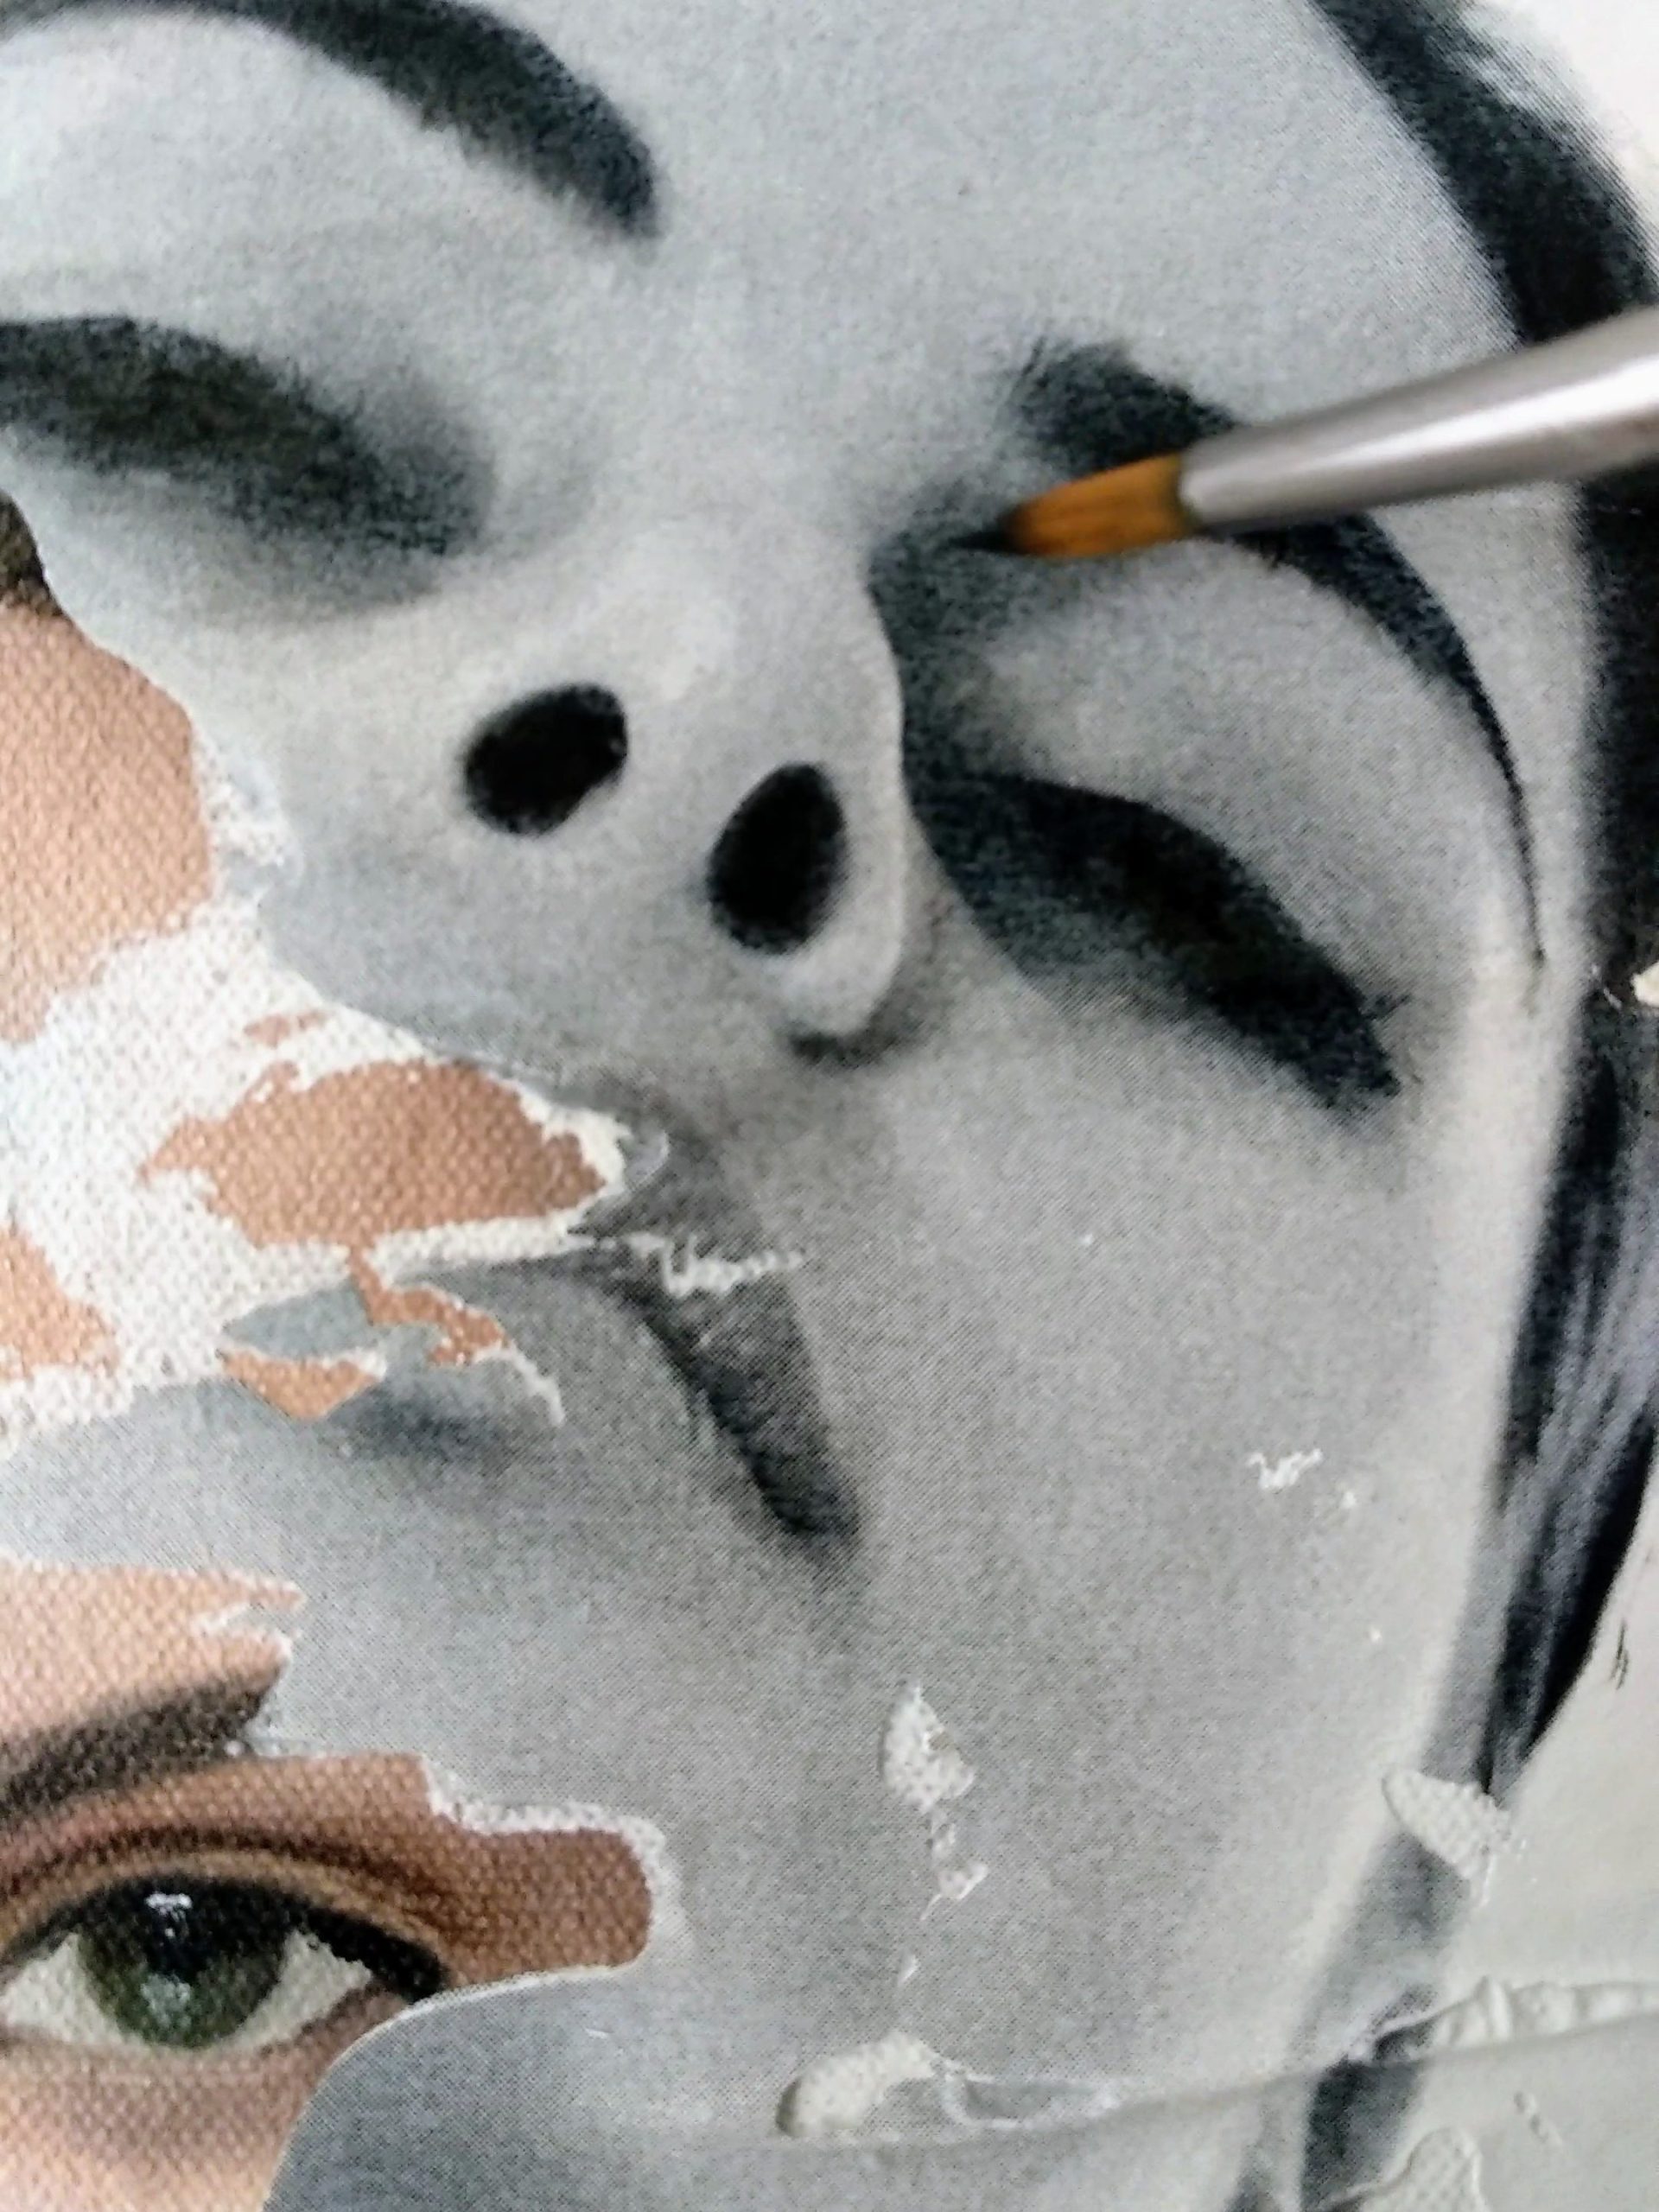
Sometimes, the colors in a transferred image may look too harsh or unnatural. In this case, you can use a clean brush to blend the colors together and create a smoother, more cohesive appearance. This can really help to bring out the true beauty of the image and make it look more polished overall.
Image transfer onto canvas examples
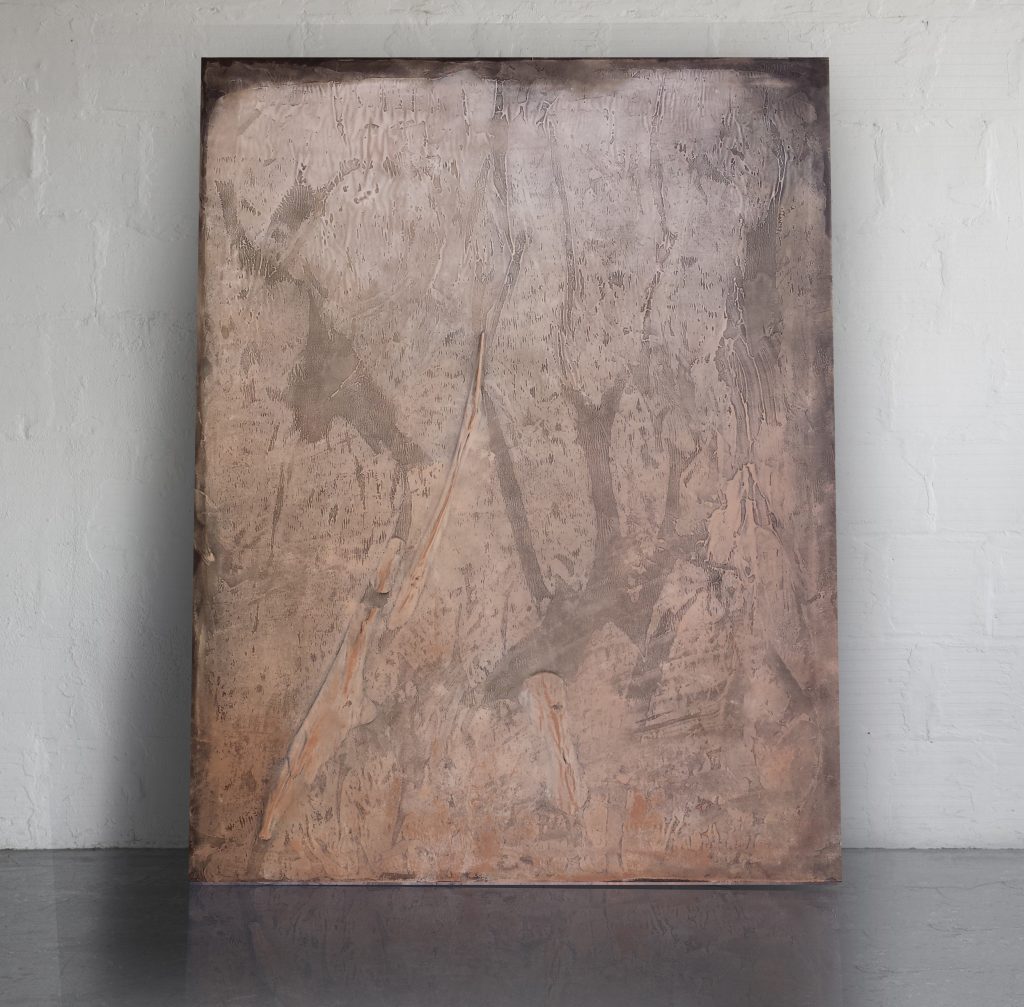
I have used image transfer onto canvas in different creative ways, here are several examples of how I have employed image transfer in my artworks over the years. In the past, I have used it as a grisaille base to paint with oils, or directly onto a white background and added a touch of color to create my deconstructed series. In my more characteristic work, I have utilized image transfer to complement my oil paintings. Additionally, I have utilized the textures created with these transfers to make a completely white base for my abstract paintings.
Frequently Asked Questions
Here are some frequently asked questions about transferring images onto canvas:
Conclusion
Transferring an image onto a canvas is not only a great way to add a personal touch to your home decor or create a unique gift, but it’s also a technique I’ve used extensively in my neophotorealism style. By using image transfer, I can incorporate realistic details into my artwork that wouldn’t be possible with just paint alone. With a few simple tools and some patience, you too can transfer any image onto a canvas and create a beautiful work of art that incorporates this technique. Just remember to choose the right image, gather your materials, prepare your canvas, transfer your photo, and touch it up as needed. By following these steps, you’ll be well on your way to creating stunning canvas art that incorporates the unique and personalized touch of image transfer.
Related articles